To go to Client tickets:
Support Section--> Click Client tickets.
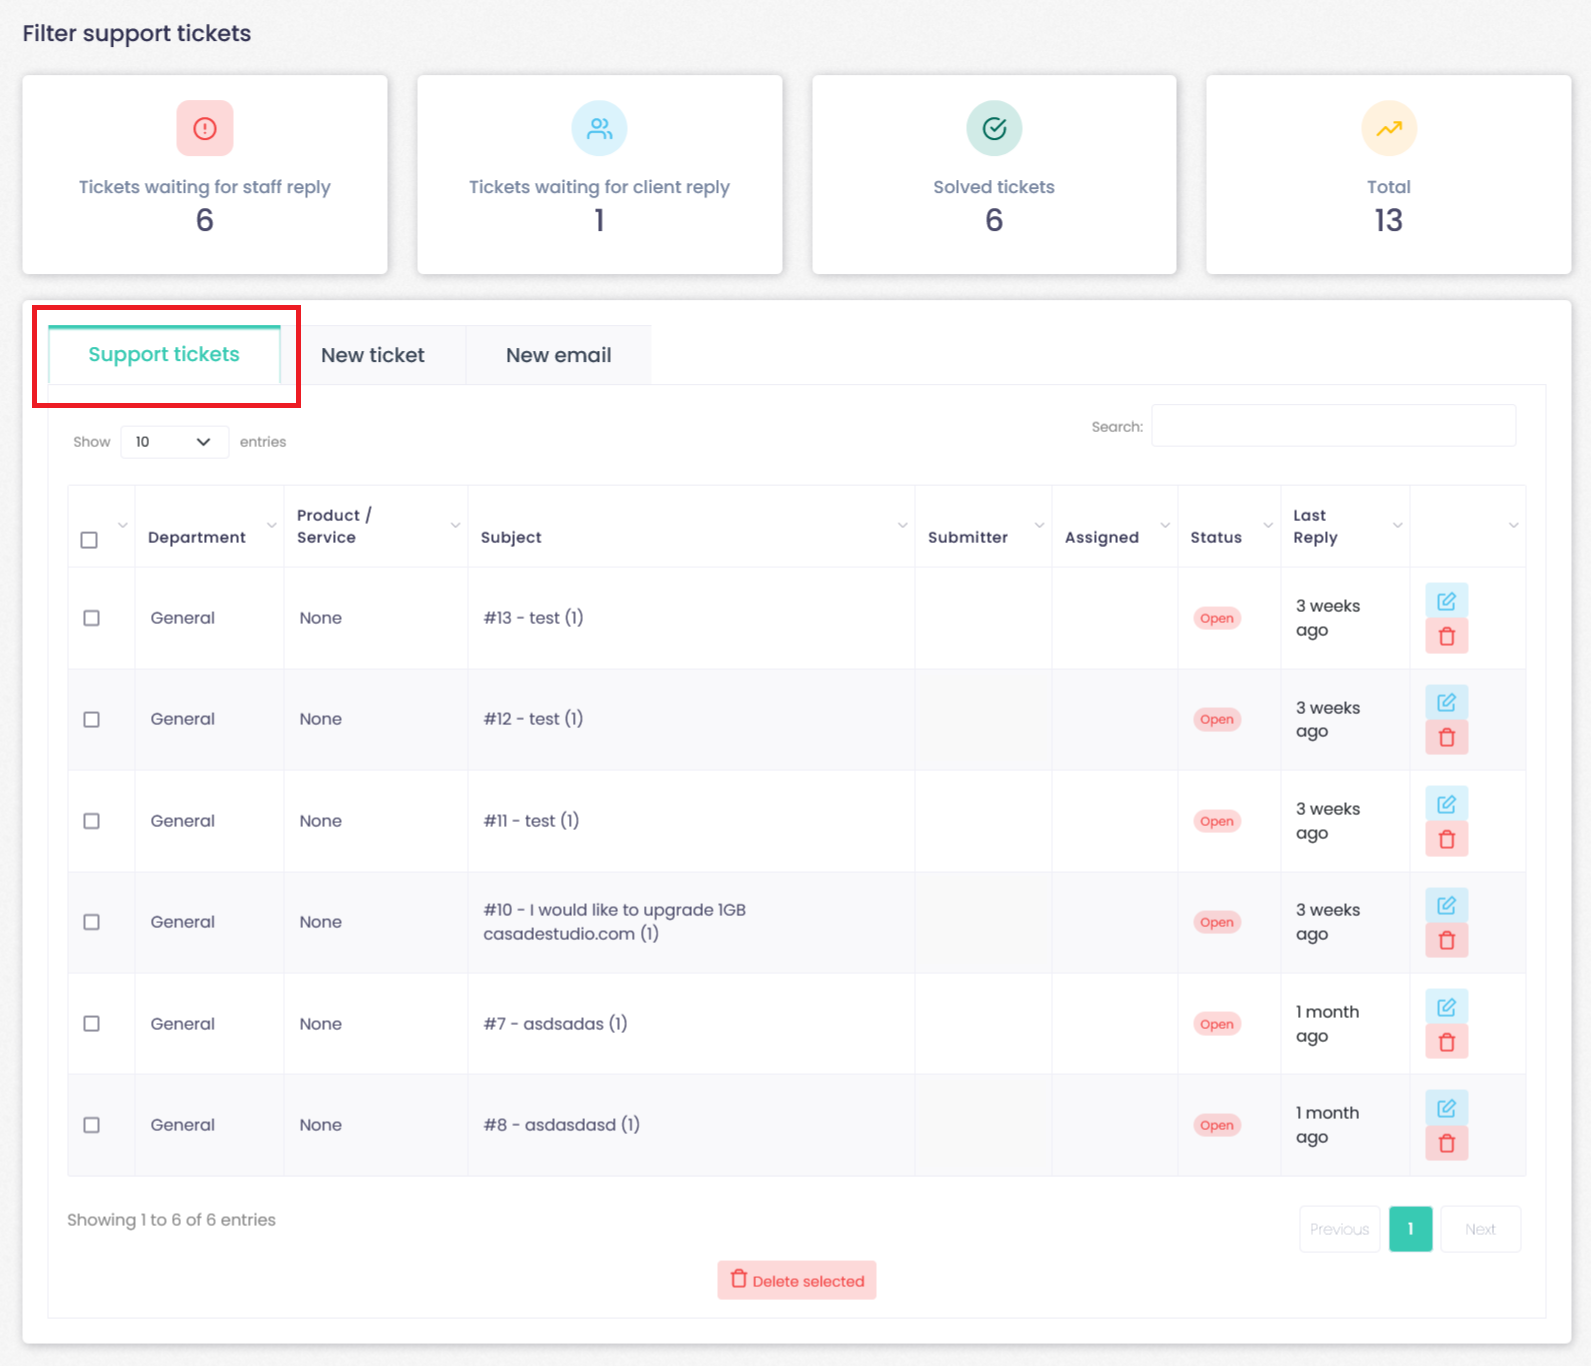
When entering Client Tickets you will find a balance of Tickets waiting for staff reply, Tickets waiting for client reply, Solve tickets, and total.
Clients tickets
The Support center can be accessed via administration area area by clicking the Support menu option on the left menu.
Support area has these options:
The overview shows the most recent list of tickets created / opened / answered. You can conveniently open a ticket by clicking on subject or edit button.
When a ticket is opened, you will see the conversation history opened by default. Additional information can be accessed via the Ticket notes, Client and Client tickets tabs.
You can reply to a ticket by scrolling down to the bottom of the ticket history, where you will see a text box automatically filled with your default predefined message.
You can select any other predefined message that you wish to send to your client via the Predefined replies list box.
New Ticket
A new ticket can be sent via admin area for any client (you will need to enter a client ID).
Here you will see a text box automatically filled with your default predefined message which you can edit to make your ticket.
You can select any other predefined message that you wish to send to your client via the Predefined replies list box.
There is also an attachment box if you need to attach a file with your ticket.
If you need to send a ticket for a specific client, but you do not remember the client ID, you can browse for the client via the Clients menu option on the left menu of the WHB Web Hosting Billing Administration area.
Predefined replies
Predefined replies are useful and can speed up your support response time greatly. If you notice that you have several similar replies that you are sending out to your customers, you can add them to the predefined replies area.
To create a predefined reply, you will need to select (or add) the corresponding category to add it to.
Then you will need to press Create a reply in this category.
A new box will be shown, where you will be able to input a title and message body of your predefined reply.
All predefined replies can be accessed when creating or replying to a ticket, via the Predefined replies list box.